





Sale USD $139.00 USD $349.00
2.2 kg/4.85 lbs (well balanced)
1.1 kg/2.4 lbs (not included the battery, shutter release cable, camera, lens and so forth)
158.7*203.6*372.8 mm (normal state)
71*208.8*350.4 mm (storage)
Aluminum Alloys + Rosewood
Not Water-proof
Feiyu ON
(required operating system: iOS 9.0 or later, Android 6.0 or later)
Tilt: 230°(with limitation)
Roll: 360°(unlimited)
Pan: 360°(unlimited)
Tilt: +175° to -55°
Roll: 360° unlimited (it could be automatically rotated 360° in one circle or several circles in Inception mode)
Pan: 360°(unlimited)
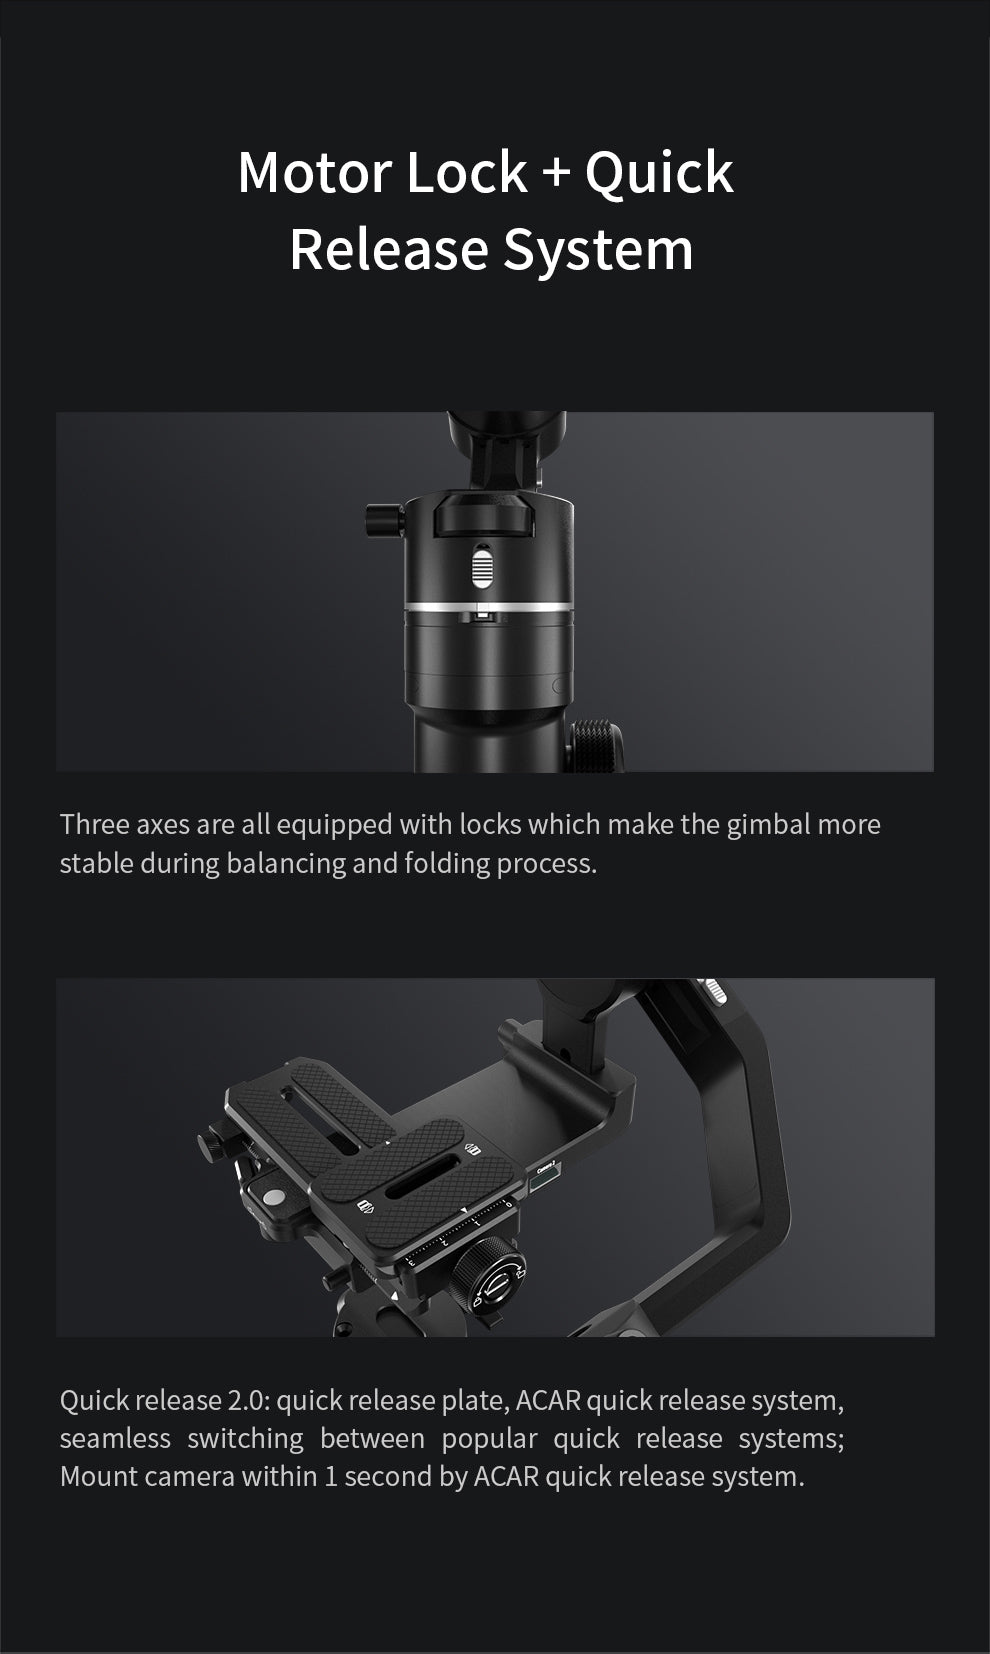
There are two kinds of quick release plate together in one.
Bottom Mounting Plate and Upper Quick Release Plate are both compatible with ARCA quick release system, which can be removed from the gimbal together with the camera, and fast switch between popular quick release systems without re-assembling and re-balancing the camera.

Not removable
7h for normal working state, 14h for standby mode (well balanced)
≥1.5h, support all the normal charger and quick charger which charging power≤18W
(for example: 9V*2A=18W, 12V*1.5A=18W)
Charging via the USB C port on the handle (quick charger which charging power≤18W is supported)
The screen will show charging icon, and disappear after 1 second. Press any button to show the current charging state.
Pan follow: The roll and tilt direction are fixed, and the camera moves according to the left-right movements of user's hand. (tilt axis keep vertical and roll axis keep horizontal)
Follow mode(Pan and tilt): The roll direction keep horizontal, and camera moves according to the left-right movements, up-down movements of user's hand.
Lock mode: The orientation of the camera is fixed no matter how the handle rotates.
All Follow Mode: All 3 axis of gimbal follows the movements of handle without limitation.
There are NINE extended ports in single handle:
On the top of sliding arm of tilt axis : One 1/4 thread hole for installation of extension support or other accessories.
At the back of mounting plate: Camera1 USB-C port and Camera2 USB port to connect and control the camera.
In front of mounting plate: UART1, UART2 USB ports to connect external AFKII. 
At the left and right side of handle: 1/4 inch thread hole to extension support other accessories, such as monitor, Mic, versatile arm and so forth.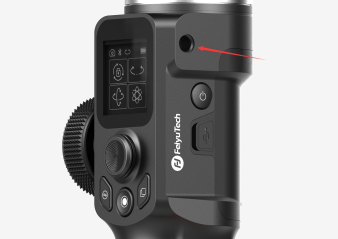

At the bottom of the handle: 1/4inch thread hole and 3/8inch thread hole to mount Tripod or other accessories.
At the right side of handle: USB-C port for quick charging & update firmware(need a separate USB adapter)
USB cable Control: While connecting gimbal and cameras with cable (standard accessories for SONY, CANON, NIKON, Panasonic), users can control focus/picture-taking/recording/Auto-burst shot with shutter button (see Camera Compatibility List for more), switch photo/video mode with mode button (expect Panasonic, because it is using shutter release cable).
WIFI control: Gimbal can connect with camera via Feiyu On app and WiFi. When connection is done, camera could be controlled to take photo/video/zoom/follow focus.
Tips:
1. WiFi feature should be included so that camera could be connected via WiFi.
2. Digital Zoom and Follow Focus could be performed when they are supported. Please refer to the list of controllable cameras.
3. Recommend using Sony Type C to Multi cable to control SONY cameras,which is more stable and rapid reaction.
Auto-adapt of Motor power is available to the App or Touch Screen. Gimbal automatically adjust the motor power according to the camera you install.
Auto Adapt operation: Enter the payload setting through touch screen, and tap Auto Adaption, then put gimbal on the table until the display prompt complete.
Note: It's normal for the gimbal to vibrate slightly during automatic weighing.
1. Change working mode via touch screen or buttons, directly show the state of camera connection, bluetooth, control state, battery at the display without APP.
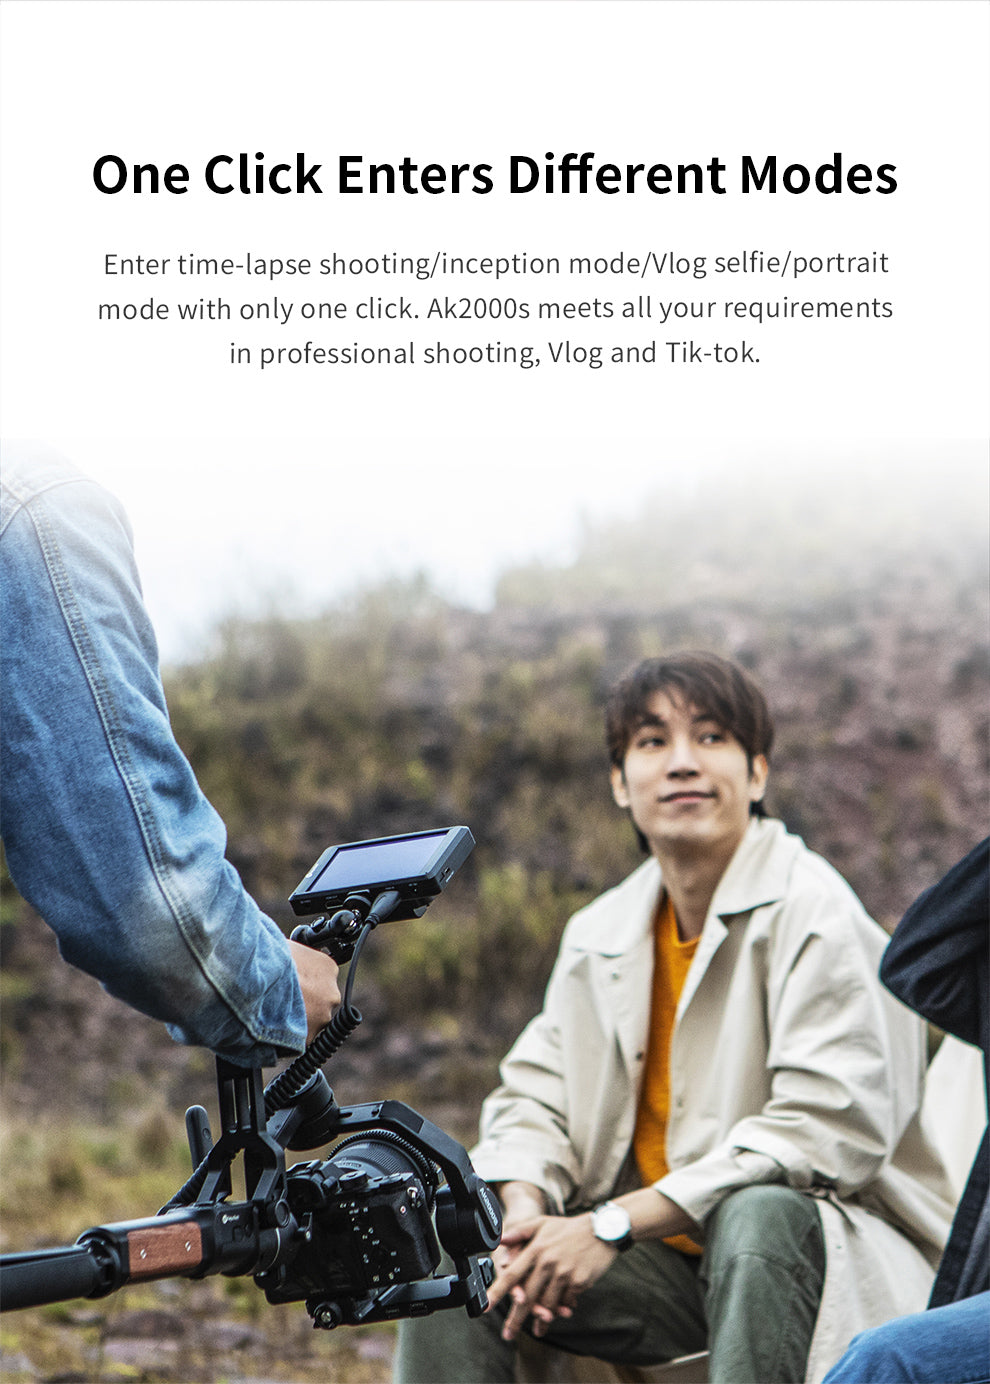
2. One tap to enter Inception mode, long exposure timelapse, VLOG Selfie and portarit shooting for TikTok, and more special shooting modes.
3. Manually set up the rotation speed, picture interval, long exposure time and the movement route in auto-rotation mode for long exposure timelapse.
4. Control and set up the camera, taking photo, recording, follow focus, zoom in&out with USB cable control or WIFI control.
5. Initialize the gimbal when it is not level.
6. Manually set up the shooting angle on tilt axis by hand.
7. More optional accessories available, such as hyperlink remote controller, AKFII follow focus motor, monitor, monopod, wireless microphone kit, etc.
8. Upgrade the firmware, set gimbal or camera parameters, virtual remote control on Feiyu ON App.
Standard Kit (including versatile arm, anti-slip tripod, USB cables and other accessories):
EPP box *1
AK2000S *1
Versatile arm + tighten screw *1 set
Anti-slip metal tripod *1
Sony USB control/camera charging cable: USB2.0 to Micro(A01) *1
Sony USB control cable: Type C to Multi *1
Canon USB Cable USB 2.0 to Mini(B01) *1
5D Mark IV USB Cable USB 3.0 to Micro 3.0(A02) *1
Shutter release for Panasonic TYPE C to DC2.5 *1
Nikon&EOS R USB control/gimbal charging cable: USB 2.0 to Type C(C01) *1
Fujifilm Shutter Release Cable TYPE C to TRS2.5 *1
Bottom quick release plate *1
ARCA quick release plate *1
lens supporting frame + fixed screw *1
Thumb screw to fix the camera(short) *1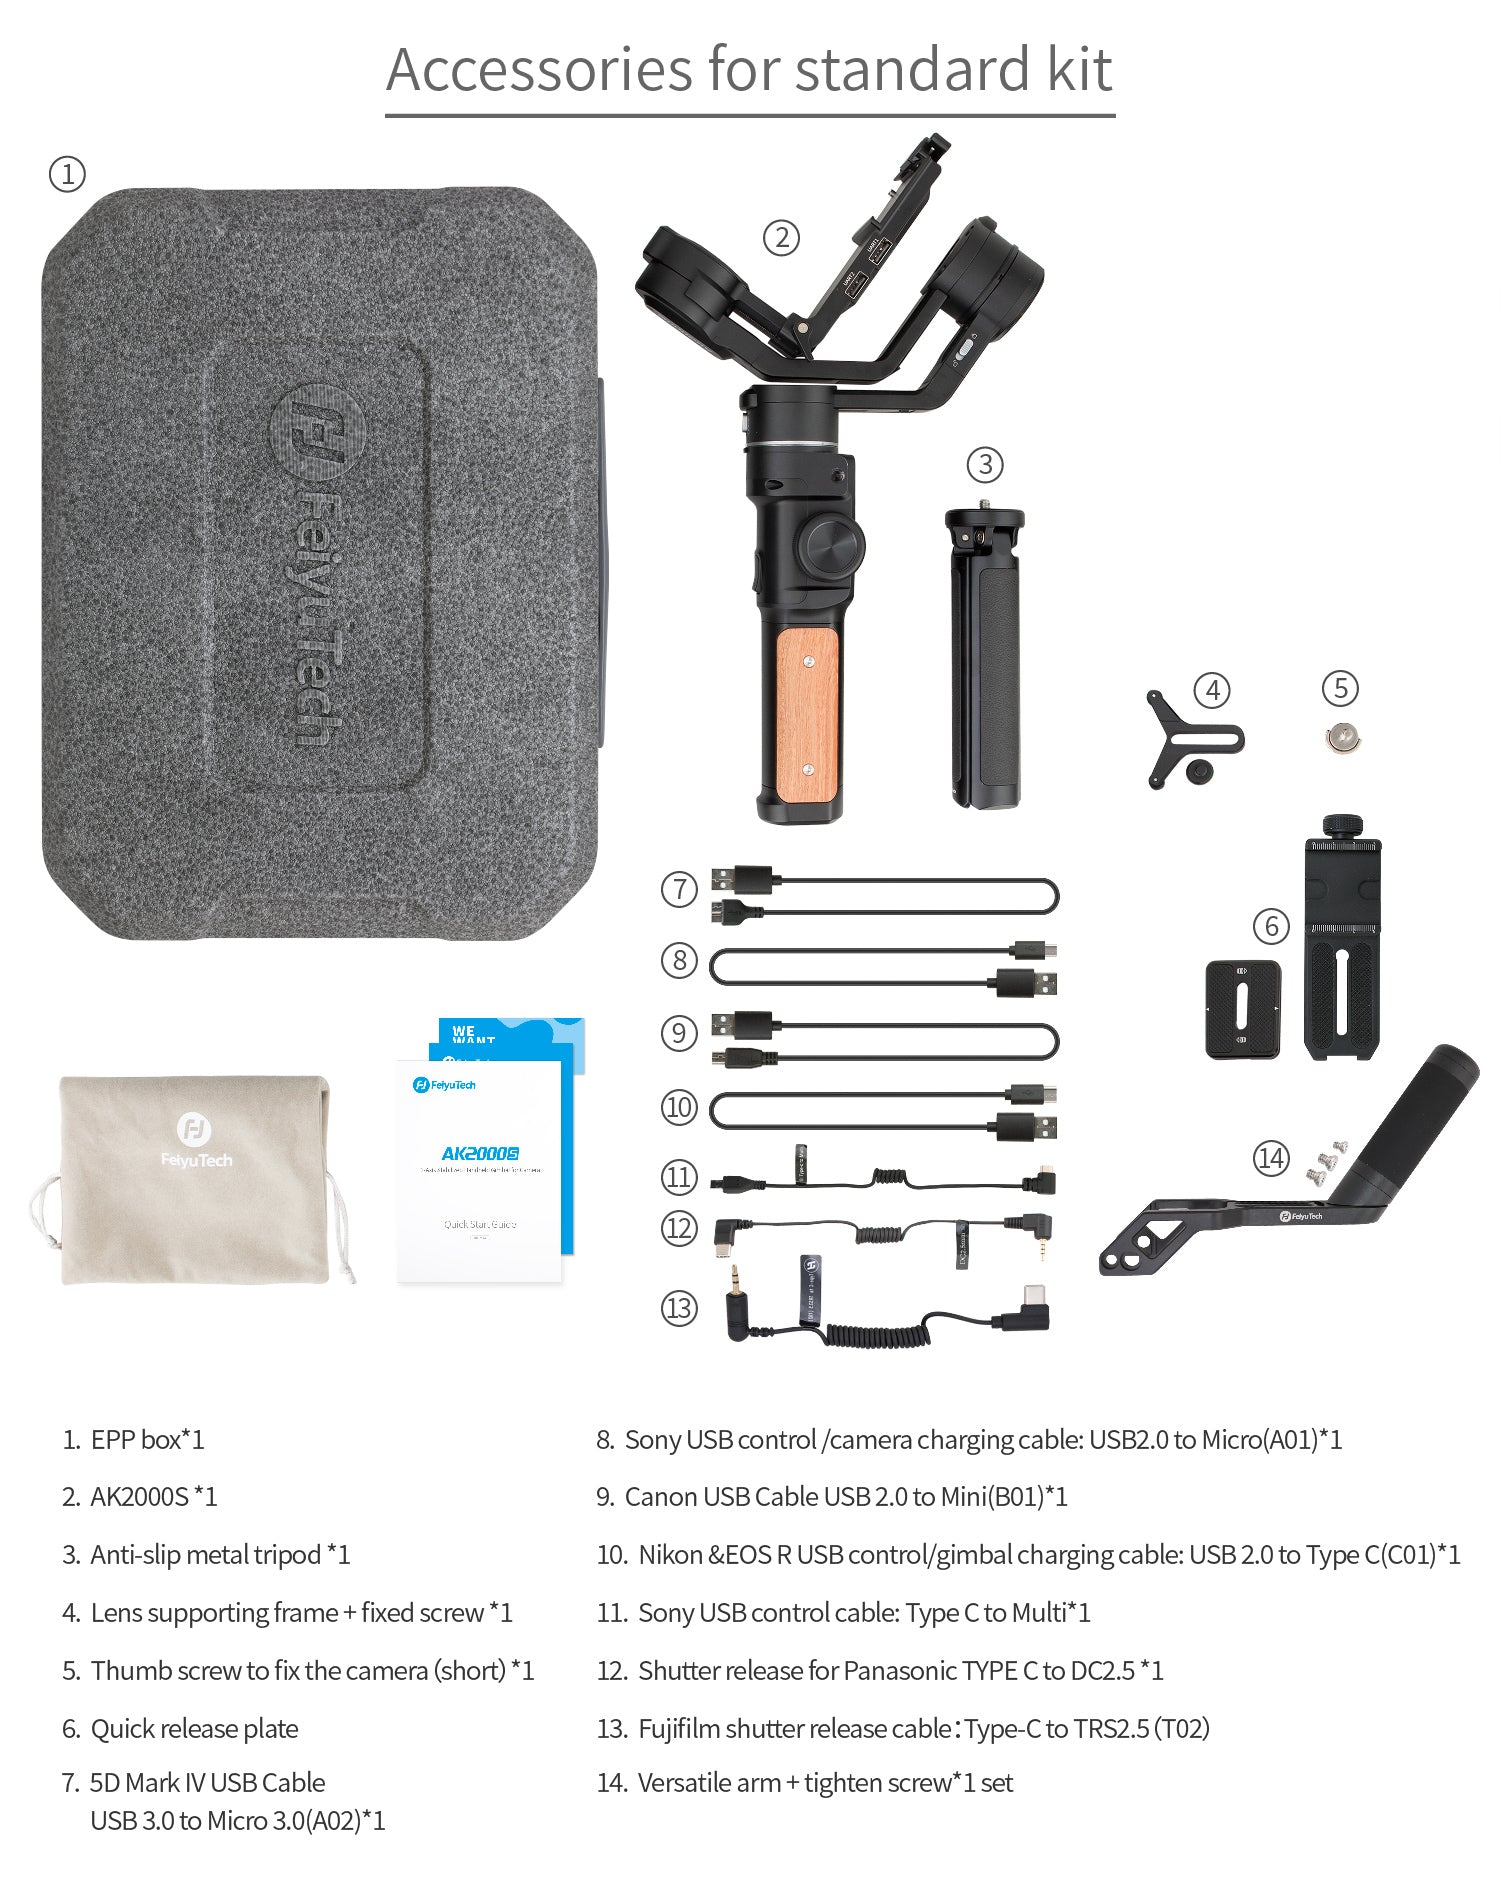
Advanced Kit ( including versatile arm, anti-slip tripod, USB cables, brushless AFKII and other accessories):
AK2000S *1
Brushless AFKII *1
Versatile arm + tighten screw *1 set
Anti-slip metal tripod *1
Sony USB control/camera charging cable: USB2.0 to Micro(A01) *1
Sony USB control cable: Type C to Multi *1
Canon USB Cable USB 2.0 to Mini(B01) *1
5D Mark IV USB Cable USB 3.0 to Micro 3.0(A02) *1
Shutter release for Panasonic TYPE C to DC2.5 *1
Fujifilm Shutter Release Cable TYPE C to TRS2.5 *1
Nikon&EOS R USB control/gimbal charging cable: USB 2.0 to Type C(C01) *1
Bottom quick release plate *1
ARCA quick release plate *1
lens supporting frame + fixed screw *1
Thumb screw to fix the camera(short) *1
EPP box*1

Payload: 2.2 kg/4.85 lbs (well balanced)
Reference Compatible Cameras Size for Carry:
Camera height (include the height of viewfinder): ≤130mm
The distance from screw hole to the right edge of camera: ≤95mm
Maximum length at lens direction: about 175mm
Popular DSLR & mirrorless camera supported:
1. SONY: α5100, α6000, α6100, α6300, α6400, α6500, α6600, α7, α7 II(A7M2), α7 Ⅲ(A7M3), α7R, α7R II, α7R Ⅲ, α7R IV, α7S, α7S II, α9, RX100 IV(RX100M4), RX100 VII(RX100M7), RX10 IV etc. Mirrorless camera series
Lense Series: SONY FE 24-70mm F4 ZA OSS, FE 16-35mm f/4 , FE28-70mm, FE 4/24-105 G OSS , FE 85mm F1.4 GM and etc.
2. CANON: M50, EOS 200D, EOS R, EOS RP, M6 mark II, G7X mark III, EOS 90D and other cameras with similar size and weight
Lense Series: Canon RF 24-105mm F4L IS USM, RF 50mmF1.2L, RF 35mmF1.8 and etc.
3. Panasonic: GH4,GH5, GH5S, G9, DC-GX9KGK-K, DC-GF9XGK, DC-GF9KGK, DC-GF10KGK, DC-ZS70GK, DC-ZS220GK, DMC-ZS110, DMC-GX85, DMC-LX10, DMC-LX100 and other similar camera;
Lense Series: LEICA DG Vario-Elmarit 12-60 f/2.8-4 Power OIS, LUMIX G 14-140mm f/4-5.8 OIS, LEICA DG Vario-Elmarit 8-18mm f/2.8-4.0 ASPH and etc.
4. Nikon: Z6,Z7 and other similar Mirrorless camera
Lense Series: NIKKOR Z 24-70mm f/4 S, NIKKOR Z 14-30mm f/4 S and etc.
5. Fujifilm: X-T30, X-T20, X-A7, X-A5, X-T100, X-H1, X-T3 and other similar camera
Lense Series: XF 16-55mm 1:2.8 R LM WR, XF 18-135mm f/3.5-5.6 R LM OIS WR and etc.

I bought the AK2000S to use with my Panasonic FZ2000/2500.
Because the lens of the device is quite long, the FZ2000 has to go far back to get into balance.
I took the lens hood off and the viewfinder rubber touched the rear motor a little bit.
So I also removed this one , when using the gimbal you do not use a viewfinder . and you can just put it back on afterwards. The balancing itself went very smoothly and I was impressed with the images after the first tests. I just have to be careful not to move too fast ;-).
But it is a perfect device and aI love it !!!
I received my AK2000s a few days ago and learned to use this tool quite quickly. It works fantasticly well and the technical support I received was awesome! Nevertheless, it would be a good idea to improve in the future the possibility of grafting certain accessories such as a microphone or a monitor to the gimbal. I finally managed to attach these accessories to the versatile arm but with some modifications.
Very satisfied with my purchase!
Pierre
This was a refurbished unit but you would never be able to tell the difference between this unit and a brand new one. All parts were included and the gimbal was easy to set up (lots of good YouTube videos for this). The motors are quiet and quite strong, easily controlling my Nikon z7ii.
I wanted to give 5 stars but I have to give 4 stars because the follow focus motor doesn't work . The gimbal is perfect ! Thankyou
ak2000S:n akkua ei voi irrottaa.
Kun gimbal toimii valmiustilassa , mikä voisi toimia noin 14 tuntia; Käytetään kuvaamiseen , mikä voisi toimia noin 7 tuntia.
Ennen kuin kytket gimbalin päälle, varmista, että kaikki nämä kolme akselia on tasapainotettu oikein.
Se voi kestää ≥ 1 h ( 1 ~ 1,5 h ).
Se tukee virtalähdettä, jonka teho on alle 18 W. (Kun gimbaalia ladataan, näytössä näkyy latauskuvake ja se katoaa 1 sekunnin kuluttua. Paina mitä tahansa painiketta, voit herättää sen.)
AK2000s käyttää 2 paria 18650 INR akkuja, ne on sisäänrakennettu gimbaliin eikä irrotettavissa, se tulee ladata USB Type C -kaapelilla, jossa on virtalähde, jonka teho on alle 18W.
1) Varmista, että gimbal/kamera on tasapainossa ennen kuin käynnistät gimbalin. Kun se on tasapainotettu oikein, kamera voi pysyä missä tahansa kulmassa ilman, että siitä pitää kiinni käsistä.
2) Varmista, että avaat 3-akselin lukituksen ja kallistusmoottorin tulee olla kameran oikealla puolella.
Säädä kuollut alue minimiin ja alusta sitten gimbal.
Varmista, että gimbal on tasapainossa, ja liu'uta sitten näyttöä vasemmalle --> Moottorin voimakkuus --> Automaattinen sovitus --> vahvista .
Pikakiinnityslevyssä on kaksikerroksinen rakenne, pohjalevy ja toissijainen levy ovat yhteensopivia ARCA-panoraamakipparijalustan pikakiinnityslevyn kanssa.
Toissijainen levy kameran kanssa voidaan helposti liu'uttaa sisään/ulos, ei tarvitse säätää eri kameroita varten.
Pitkä painallus: päälle/pois
Yksi painallus (kun etusivulla): Lukitse/Poista
Yksi painallus (kun ei ole kotisivulla): takaisin etusivulle
Kaksoispainallus: Lepotila
Yksi painallus: vaihda panorointitilan ja lukitustilan välillä
Kaksoispainallus: panorointi- ja kallistusseurantatila
Kolminkertainen painallus: kaikki seuraa tila
Yksi painallus: vaihda valokuvan ja videon välillä
Huomautus: kun yhdistät USB-kaapelilla, käyttäjät voivat vaihtaa valokuvan ja videon välillä muiden kuin Panasonic-merkkisten kameroiden kanssa.
Kun muodostat yhteyden WiFi-verkkoon, käyttäjät voivat vaihtaa valokuvan ja videon välillä muiden kuin Sony-kameroiden kanssa.
Kaksoispainallus: palaa alkuasentoon ja oletustilaan (Pan follow)
Pitkä painallus: vaihda panorointi- ja kallistusseurantatilaan, palaa edelliseen tilaan päästäessäsi irti (se on mukautettavissa 3 tilaan, nimittäin lukitus, panorointi ja kallistus ja nopea seuranta)
Kolminkertainen painallus: selfie-tila (pan 180°)
1) USB-kaapelin ohjaus: Yhdistä gimbal ja kamerat oikealla kaapelilla. Käyttäjät voivat ohjata tarkennusta / kuvan ottamista / videon tallennusta / automaattista sarjakuvausta suljinpainikkeella. (Katso lisätietoja kameran yhteensopivuusluettelosta)
2) WIFI-ohjaus: Gimbal voi muodostaa yhteyden kameraan Feiyu On -sovelluksen ja WiFin kautta. Kun yhteys on tehty, kameraa voidaan ohjata ottamaan valokuvaa/videota/zoomausta/seuraamaan tarkennusta. (Katso lisätietoja kameran yhteensopivuusluettelosta)
Huomautus:
1) Tukee vain Sonyn, Canonin ja Panasonicin yhteensopivia kameroita.
2) Zoomaus ja seurantatarkennus vaativat kameran tuen. Katso yhteensopivien kameroiden luettelosta tietyt tuetut toiminnot.
3) Sony-kameroissa on suositeltavaa käyttää Sony Type C - Multi -kaapelia nopeamman ja vakaamman ohjauksen saavuttamiseksi.
Onnistuneen päivityksen jälkeen sinun on painettava virtapainiketta noin 10 sekuntia, kunnes näyttö syttyy kokonaan, jotta gimbal käynnistyy.
1) Varmista, että asennat objektiivin tuen ja asenna myös kameran kiinnitysteline yläosaan.
2) Varmista, että linssi ei ole liian tiukka AKF II:n kantamiseksi.
3) Vaihda toiseen objektiiviin ja testaa, onko AKF II viallinen.
Jos gimbaalia ladataan sen ollessa päällä, latauskuvake jatkaa vilkkumista ja muuttuu vihreäksi, kun akku on täynnä.
Jos gimbaalia ladataan sen ollessa pois päältä, näytössä näkyy lataustila 10 sekunnin ajan, minkä jälkeen näyttö muuttuu mustaksi. Napauta mitä tahansa painiketta herättääksesi sen, latauskuvake muuttuu vihreäksi, kun akku on täynnä.
Mikä vika siinä on? Onko jotain vialla?
Kunnostettu AK2000S on ollut käytössä vain muutaman kerran ja on edelleen hyvässä kunnossa. Lisäksi sillä on sama VUODEN takuu kuin uusilla tuotteilla.
Voiko kahvan pidike toimia G6 maxissa?
Kaksoiskahvan kahva ei ole yhteensopiva G6 Maxin kanssa. Mutta meillä on kahva G6 Maxille tulevaisuudessa.
10/10 this gimbal surpassed my expectations. And my expectations are pretty damn high for using equipment. I would recommend this specific gimbal to anybody that’s just getting into videography That wants to have borderline professional equipment status. Eventually, I will be upgrading to the Scorp C But as of right now, the Scorp mini two is probably one of the best bang for Buck gimbals that you can currently buy on the market. I’ve had zero issues with mine, and the set up was relatively easy considering my dumbass was able to figure it out😂
There's no gimbal that has so much features for that price!
I tried several other adapters to get my wireless mics to work with my pocket 2, nothing worked. I ordered the external mic adapter from feiyu website. it took a couple weeks to receive it, but it works. some kind of voodoo as no other adapter will work that I have found. it works so I am happy thank you Feiyu. I would add, it should be made smaller if possible or with a right angle so the mic transmitter isn't sticking so far out the side of the camera. there is potential for it to get broke
Whether you shoot for money or fun, you must have one of these in your bag of tricks to ensure you always get great-looking videos! It's worth every penny!
THANK ! YOU FOR EVERYTHING .I LIKE IT VERY MUCH ! NOW ! I AM LOOKING FOR A GEMBAL THAT WORKS WITH THE MCPRO24 FPS APP DO YOU GUYS GEMBAL , WORKS WITH THE MCPRO24fps APP ! IF SO ! CAN YOU LET ME KNOW . THANK YOU ! MR.H.WOODS
The team is working very closely with a client.
Answering all the questions and solving the problems